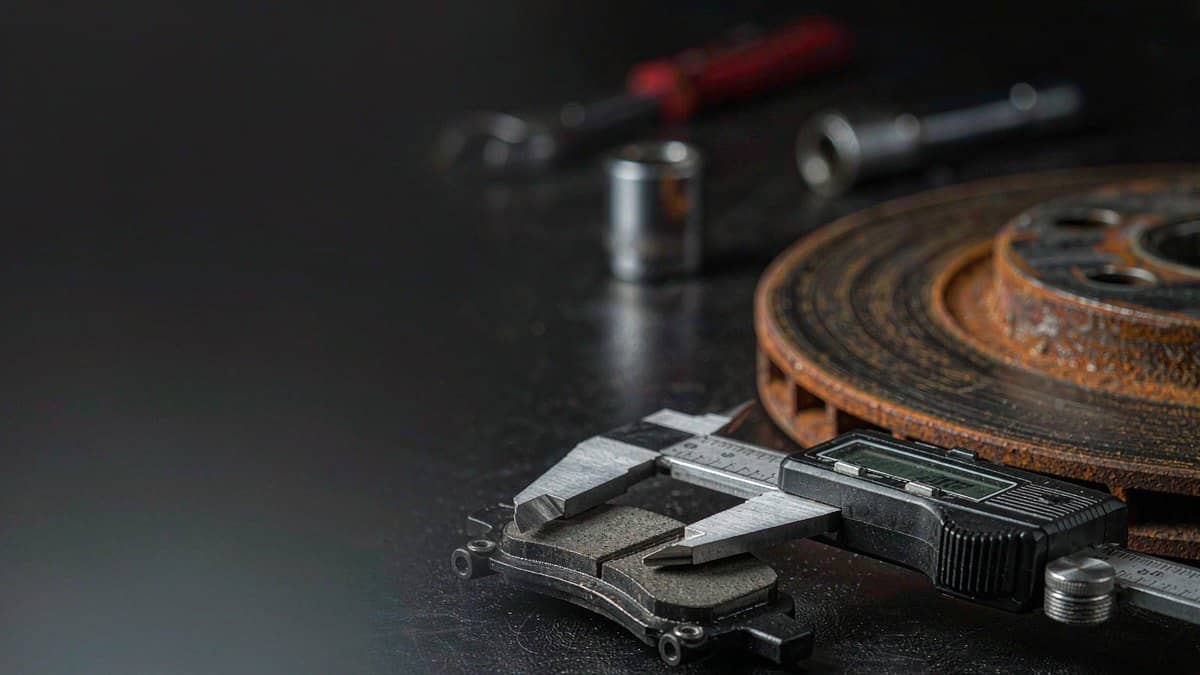
Motorcycle Brake Pad Minimum Thickness: The Millimeter Limits That Decide Replacement
Brake pads wear to a limit, and the limit is measured in millimeters — but the number people quote is usually wrong. The famous replace at 2mm refers to friction material only, excludes the backing plate, and in many pads is already past the point where braking performance has degraded. This guide gives the limits that actually apply, how to measure them honestly, and how pad limits interact with disc limits when you are quoting a job at the counter.
The Limits That Matter
Three thickness numbers govern a brake pad, and only two are yours to decide:
- Total pad thickness (backing plate plus friction material) — what calipers measure most easily. Typical new pads run 8–10mm total; the backing plate alone is 3.5–5mm.
- Friction material thickness — the part that wears. The industry-accepted minimum is 1.5–2.0mm, with 1.0mm as the absolute never-exceed floor. Under 1.5mm, braking performance in wet and hot conditions degrades faster than most riders expect.
- Manufacturer service limit — stamped or printed on the backing plate or in the box. Where the manufacturer states a limit, it overrides every rule of thumb; it reflects the pad's internal design, including any wear-indicator layer.
Translate the friction limit into a total-thickness number for quick counter checks: for a typical 4mm backing plate, replace at 6mm total, never run below 5mm total. Different pads differ — measure both layers once per SKU and write your own card.
How to Measure So the Measurement Means Something
Bad measurements cause both dangerous overruns and wasteful early replacements:
- Measure the pad in the caliper, at several points. The thinnest point governs. Tapered wear — where the leading edge is thin and the trailing edge is not — is common with sticking pins and misaligned calipers; a single measurement in the middle hides it.
- Zero the caliper on the backing plate edge, not the paint. Paint and plating add tenths of a millimeter that matter at this scale.
- Check both pads in the caliper. Inner and outer pads rarely wear evenly. A pin that does not slide leaves one pad dragging and worn while its partner looks nearly new — the pair should be replaced together, and the pin serviced.
Why Running Past the Limit Costs More Than Pads
The friction layer is a sacrificial coating for a steel backing plate. When material runs out, steel meets steel: the backing plate scores the disc in a few hard stops. A disc that would have run another 20,000 kilometers is scrap, and the repair bill multiplies by five or more. This is also why worn-to-the-rivet or worn-to-the-plate pads are never a warranty case for the pad alone — the damage is in the disc.
There is a subtler performance argument too. As friction material thins, the pad runs hotter — less material to absorb and spread heat — and heat fade arrives earlier in a descent. The last millimeter of a pad's life is also its worst-performing. Replacing at the limit is not just safety bookkeeping; it is when the bike still brakes like the pad's spec sheet.
Wear Indicators: Grooves, Tabs and Squealers
Three indicator mechanisms exist across the pad lines, and knowing which is on the box prevents half the counter confusion. The cast-in wear groove is the commuter standard: when the groove is gone, the pad is at limit. Metal squealer tabs — a small spring-steel finger that contacts the disc and hisses just before material runs out — appear on higher-grade pads and are effective but sometimes misdiagnosed as "bad bearings" by riders. Electronic wear sensors are rare on motorcycles and not worth stocking complexity for. Publish which mechanism each of your SKUs carries; a workshop that trusts the indicator converts its checks from guessing to procedure.
Rear Pads, Drum Shoes and the Limits That Differ
Most of the millimeter conversation concerns front pads, but the other friction lines have their own limits. Rear pads on disc-equipped bikes follow the same 1.5–2.0mm friction rule but wear slower — their failure mode is usually neglect, discovered only when the customer finally looks. Drum brake shoes are measured differently: lining thickness replaces friction material (1.5mm minimum across most commuter shoes, with a 2mm practical replace line), and the shoe must also be checked for lining separation and contamination from a leaking rear hub seal — a contaminated shoe never regains its friction, whatever its thickness. Drum wear limits on the drum itself matter too: an out-of-round or scored drum eats new shoes in a fraction of their normal life. A counter card that lists all three lines — disc pads, rear pads, shoes — with their limits stops the workshop from guessing at one number for everything.
Talking to the Customer: Scripting the Recommendation
The counter conversation that closes the sale correctly has three sentences. First, the measurement: "Your front pads are at 3mm total — that is 1.5mm of friction material left, inside the replace-now zone." Second, the system check: "The disc still measures above its minimum, so pads alone finish the job — and the caliper pins need cleaning, which is what wore the pads unevenly." Third, the prevention line: "Bed the new pads in gently for the first fifty kilometers." That script sells pads, protects the disc line, and gives the workshop a reason to come back at the next interval — all in twenty seconds, with numbers the customer can verify.
Pad Limits and Disc Limits Interlock
Pads and discs wear as a system, and the two minimums are quoted together at any professional counter:
- Disc minimum thickness is stamped on the rotor or in the service manual — commonly 0.5–1.0mm below new thickness on commuter discs. Our disc wear guide covers thickness, runout and scoring checks in detail.
- New pads on a worn disc accelerate both wears: a disc below spec runs hotter and its surface condition chews fresh friction material. If the disc is at or near its limit, quote the pair — selling pads alone onto a worn disc invites the customer back with a complaint.
- Bed-in after replacement is part of the job. Fresh friction material needs heat cycles to mate to the disc surface; our bed-in procedure is a 10-minute process that prevents most weak-braking complaints in the first week.
A Counter Card You Can Copy
Workshops respond to simple rules. Print this on the parts-room wall:
- New commuter pad total thickness: 8–10mm. Replace at 6mm total / 2mm friction. Never below 5mm total.
- Always measure the thinnest point of both pads in the caliper.
- Uneven wear = caliper pin service, not just new pads.
- Disc thickness below stamped minimum = replace the disc with the pads.
- Any metallic scraping sound = stop riding, the material is gone.
For distributors, the same numbers drive stocking logic: pad demand spikes are triggered by wear-limit moments, and a counter that teaches the 6mm rule sells pads earlier, discs on schedule, and earns the workshop's trust in between. Our brake pad range publishes per-SKU new thickness and compound data so the card can be filled in per part number, and the replacement job itself is covered step by step in our pad replacement tutorial.