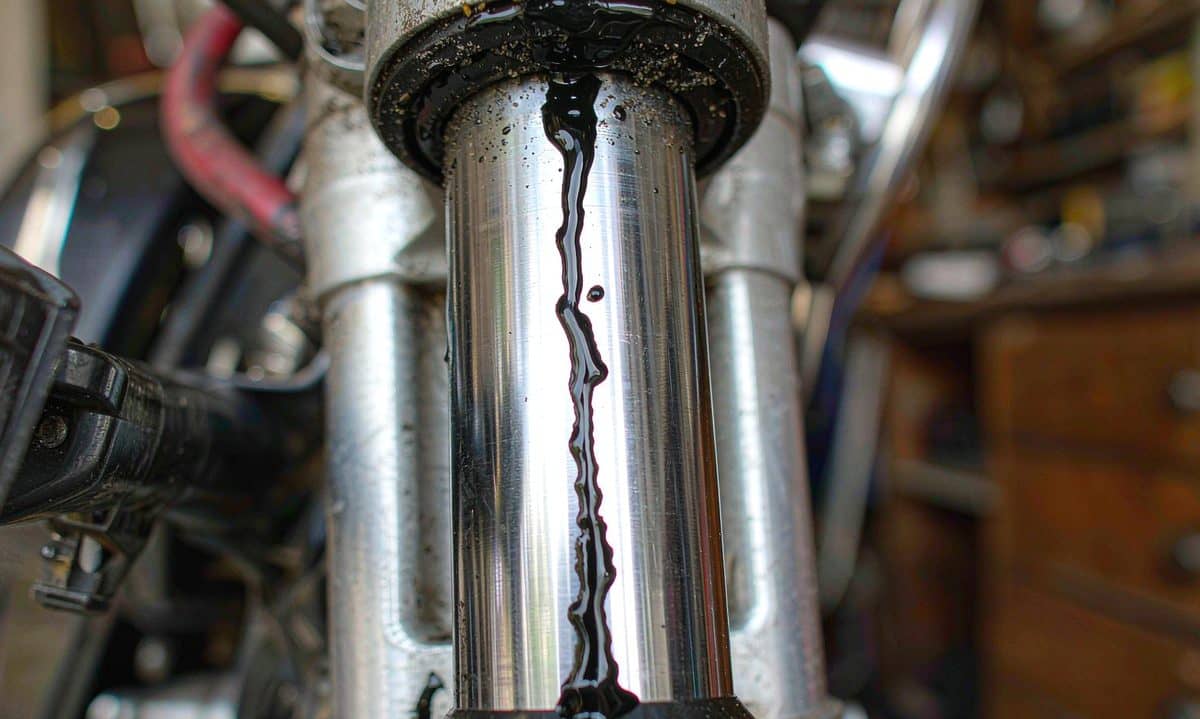
Fugas en retenes de horquilla y amortiguador: causas y solución
Suspension seals rarely fail on their own. In the workshop we treat every leak as evidence, and the evidence usually points to one of four causes. Replacing the seal without finding the cause is how you sell the same repair twice.
Cause 1: the dirt ring did its job — until it did not
The black ring of grime at the base of a fork leg is the dust seal holding captured dirt directly against the oil seal's working edge. Every full-compression cycle drags that abrasive paste across the seal lip. Prevention is almost embarrassingly cheap: wipe the stanchions after every ride in wet or muddy conditions, and service the dust seals when the grime ring stops wiping clean. This habit prevents the majority of seal failures in the field.
Cause 2: stanchion damage
A stone chip, a crash scrape, or a careless screwdriver during a previous repair leaves a burr that acts like a file on the seal lip every stroke. Inspect the full travel of the tube under strong light — rotate it and look for circumferential scoring, not just visible pits. A tube with circumferential scoring must be replaced or re-chromed; fitting a new seal over a scored tube is a guaranteed callback.
Cause 3: pressure without anywhere to go
Suspension oil heats and expands; without a working gas compensator (or sufficient air space), pressure builds and pushes past the seal. If a shock that was fine starts weeping after long, fast descents, check the gas charge and the IFP before blaming the seal. Likewise, a fork overfilled with oil or with a blocked compression circuit can self-pressurize.
Cause 4: the seal itself, or how it was fitted
Genuine failures do occur: age hardening, ozone cracking on bikes stored outdoors, or seals installed dry and cocked in the bore. When fitting, the discipline is: clean bore, lubed seal, proper driver, square seat. A seal driven crooked works, briefly.
The correct repair sequence
- Identify the cause (all four above) and fix it first.
- Replace oil seal and dust seal as a pair; the dust seal is cheap and the oil seal's life depends on it.
- Inspect and dress (or replace) the tube; check bushing play while you are in there.
- Refill with the specified oil weight and level — suspension oil weight is a tuning parameter, not a preference.
- Set sag and, if fitted, damping adjusters to baseline before road testing.
For distributors: a seal-and-wiper kit that includes the correct oil volume spec sheet gets used correctly; one that does not, gets guessed at. Print the spec on the box — it costs nothing and halves the "it still leaks" returns.